
Bathroom Cabinet
Making a bathroom cabinet for the client. Chose some good maple and had a great design esthetic going but the stain beat me and had to paint it. You can read more about this on the blog.
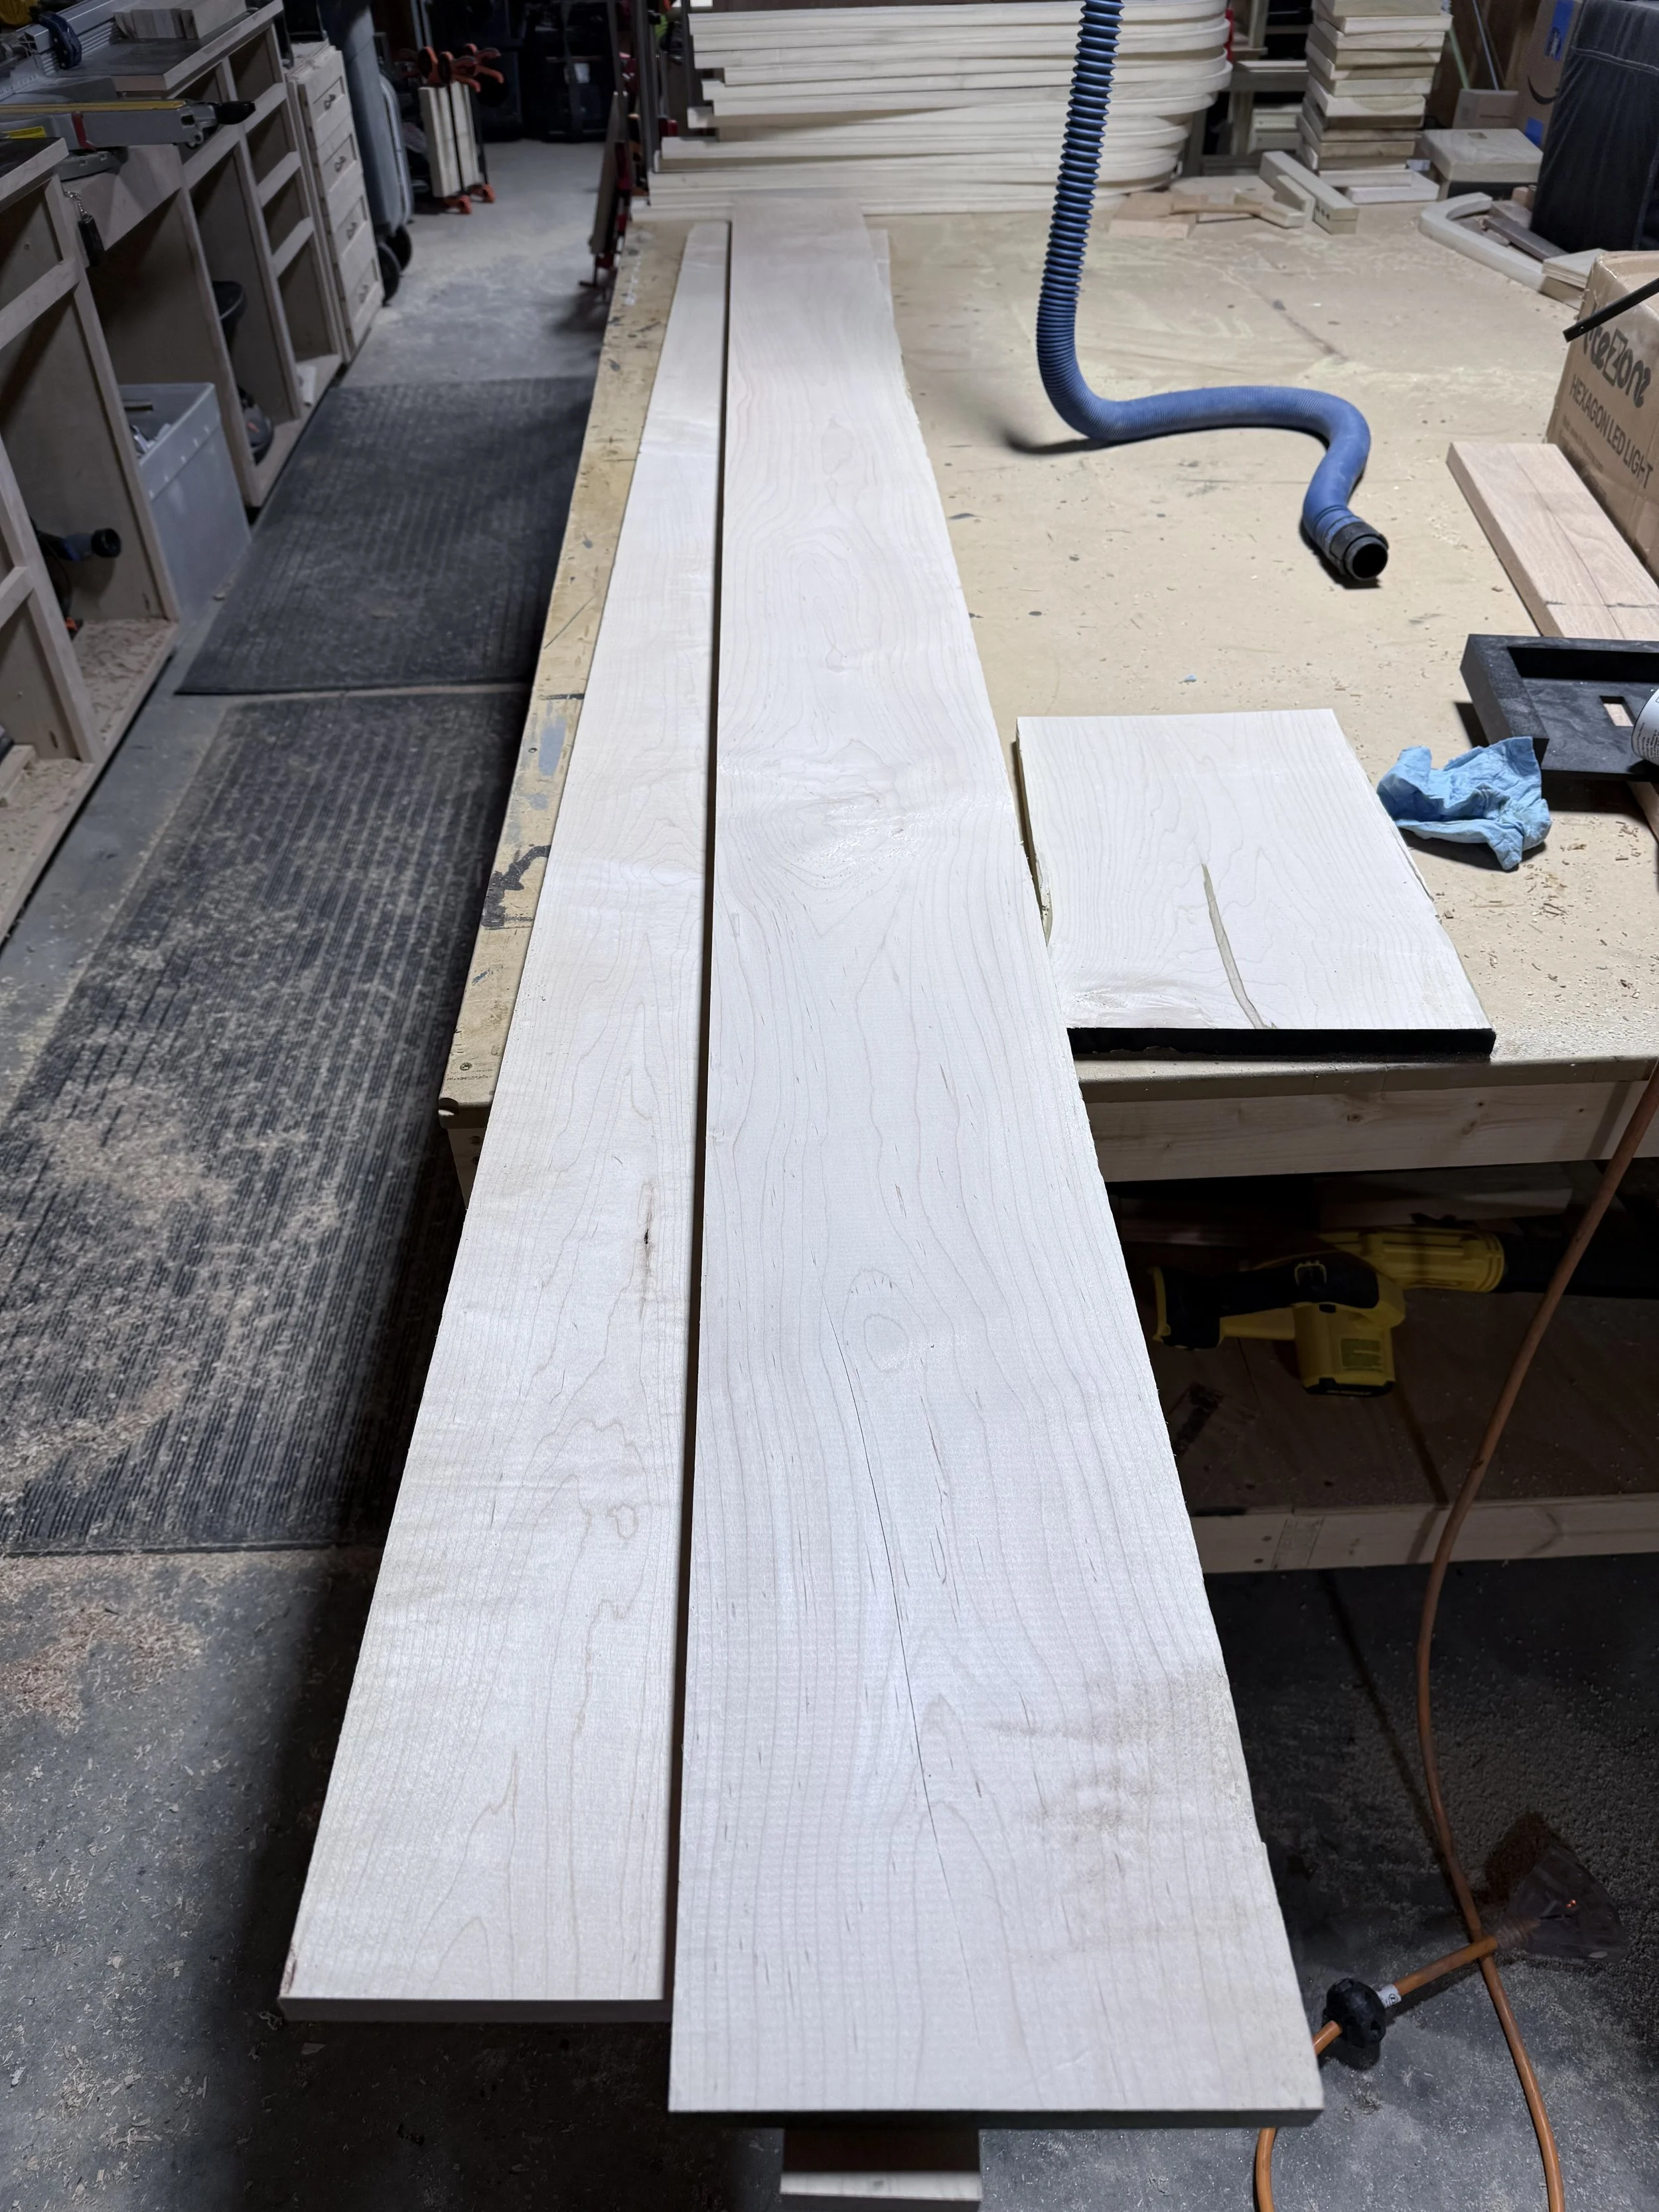
Boards picked out
Got my pieces of maple picked out for a nice 20” x 28” cabinet. Going to focus on grain for this build
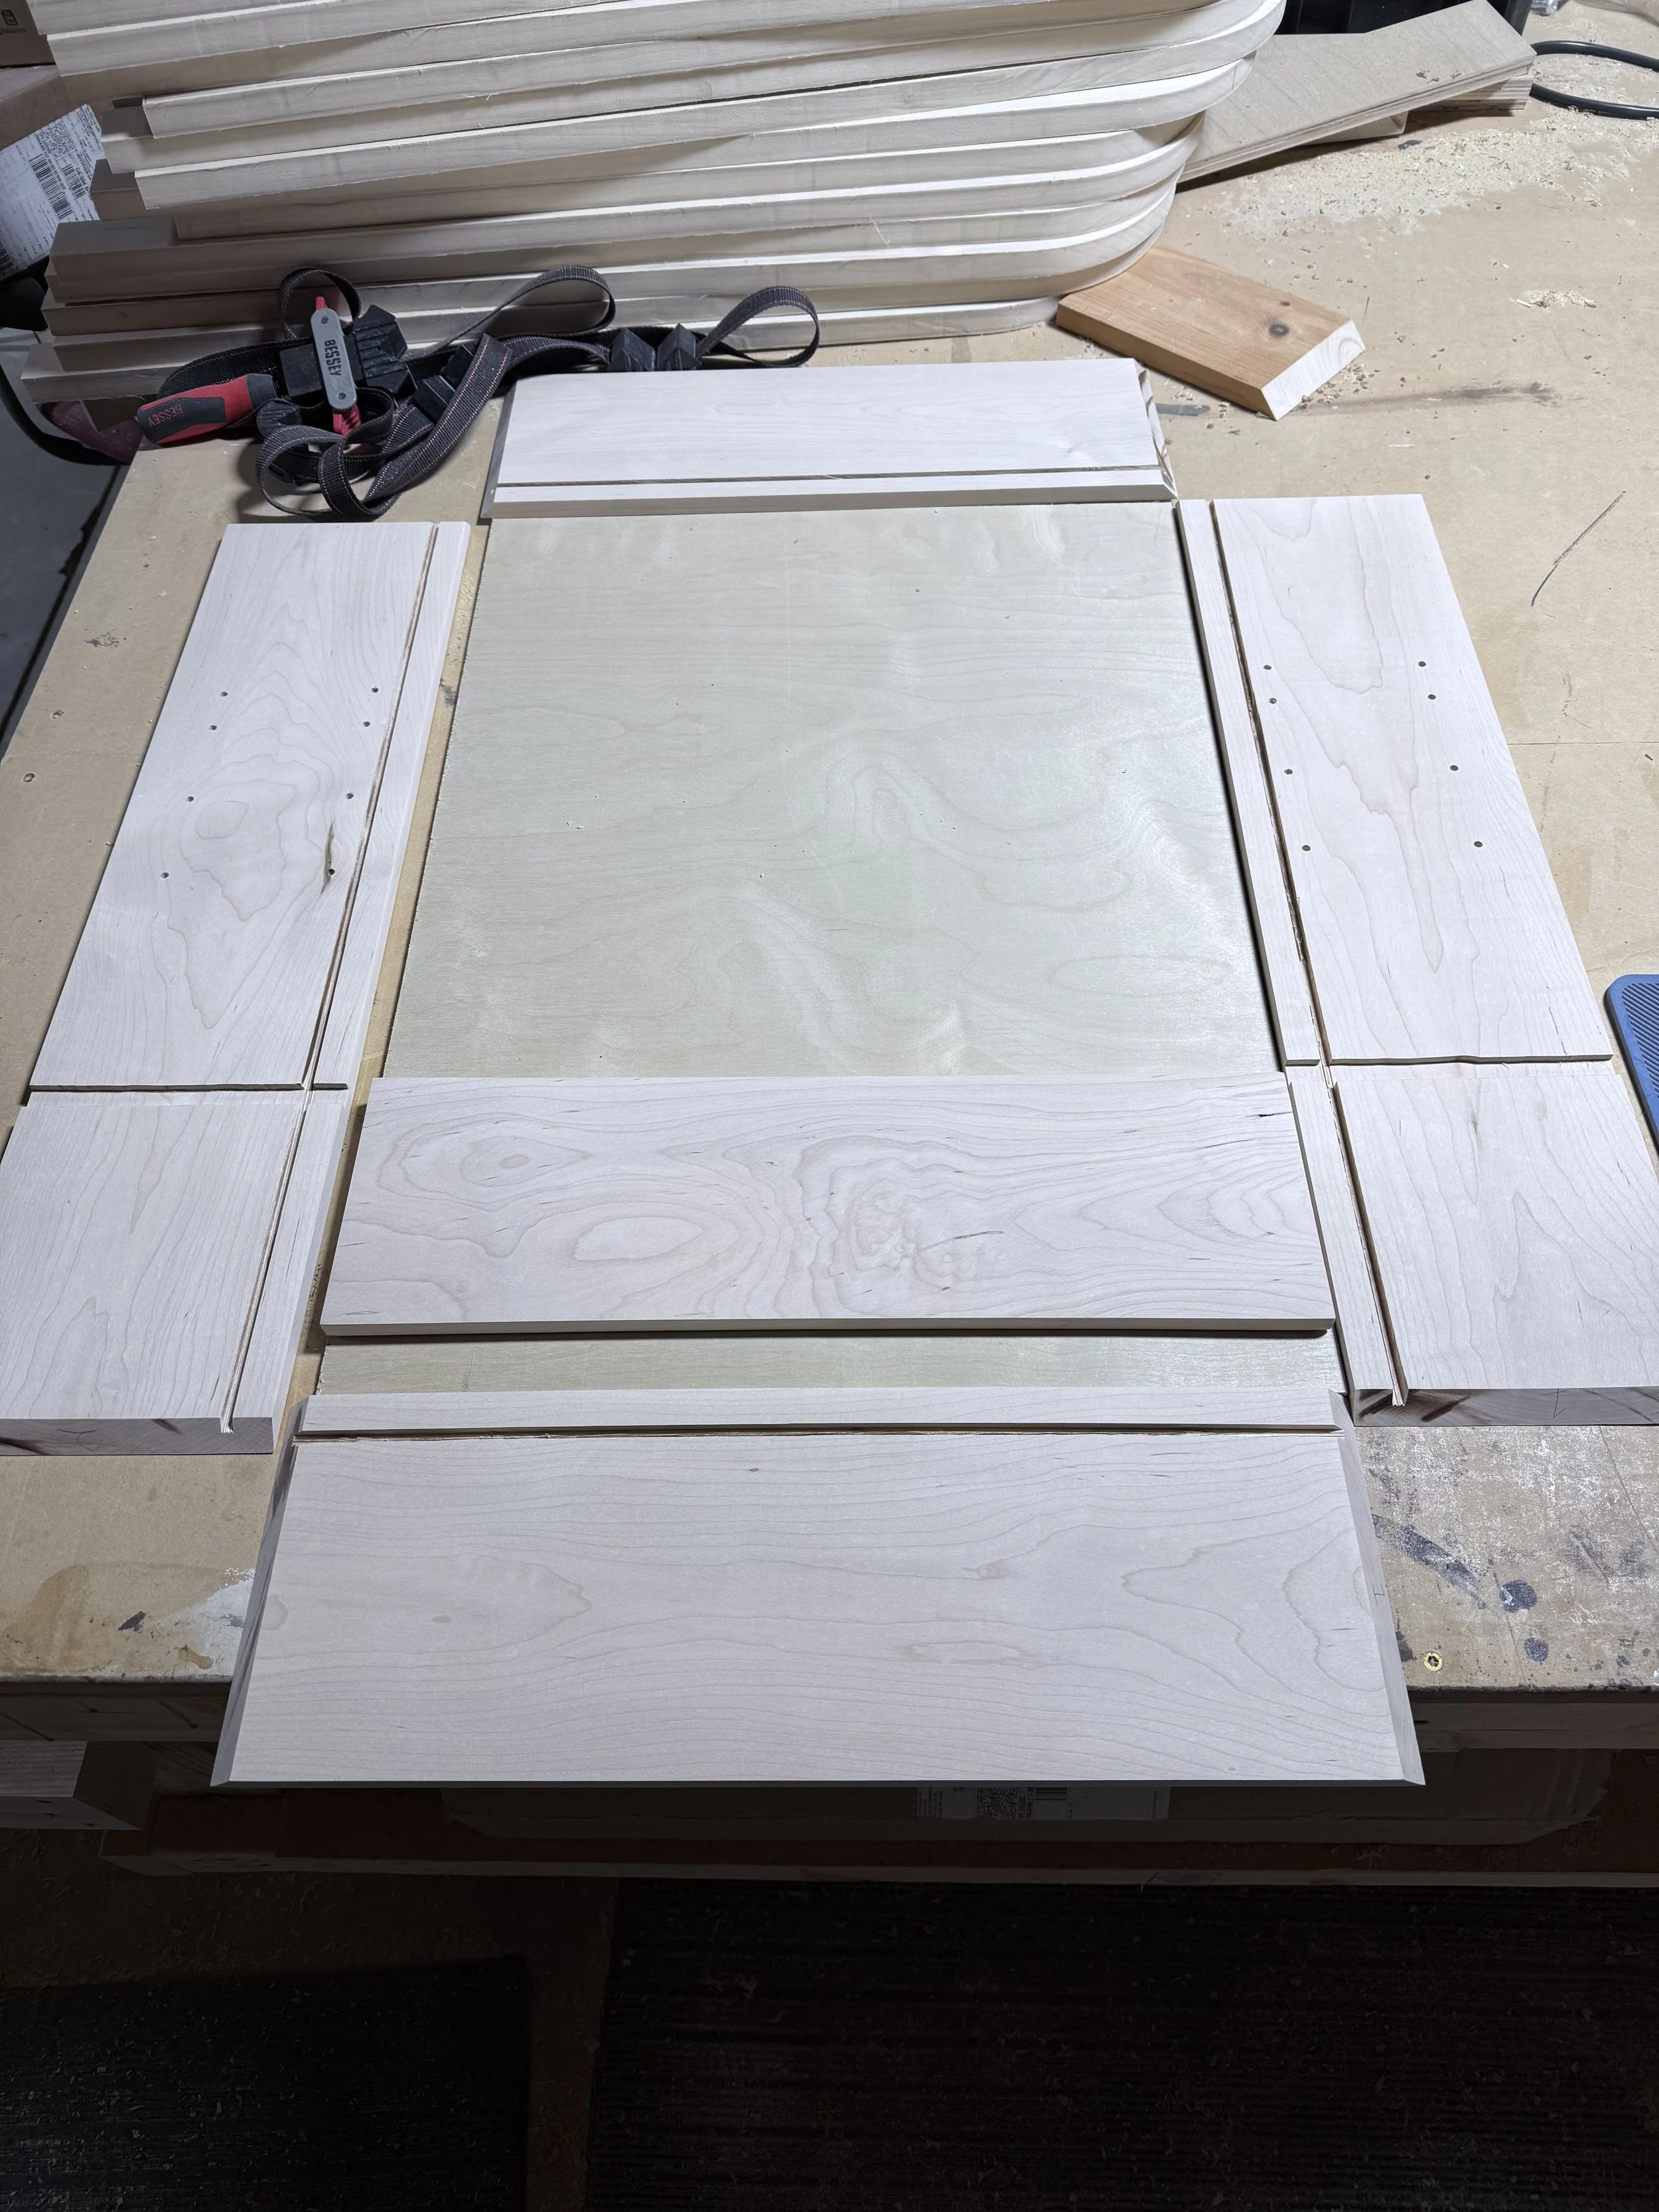
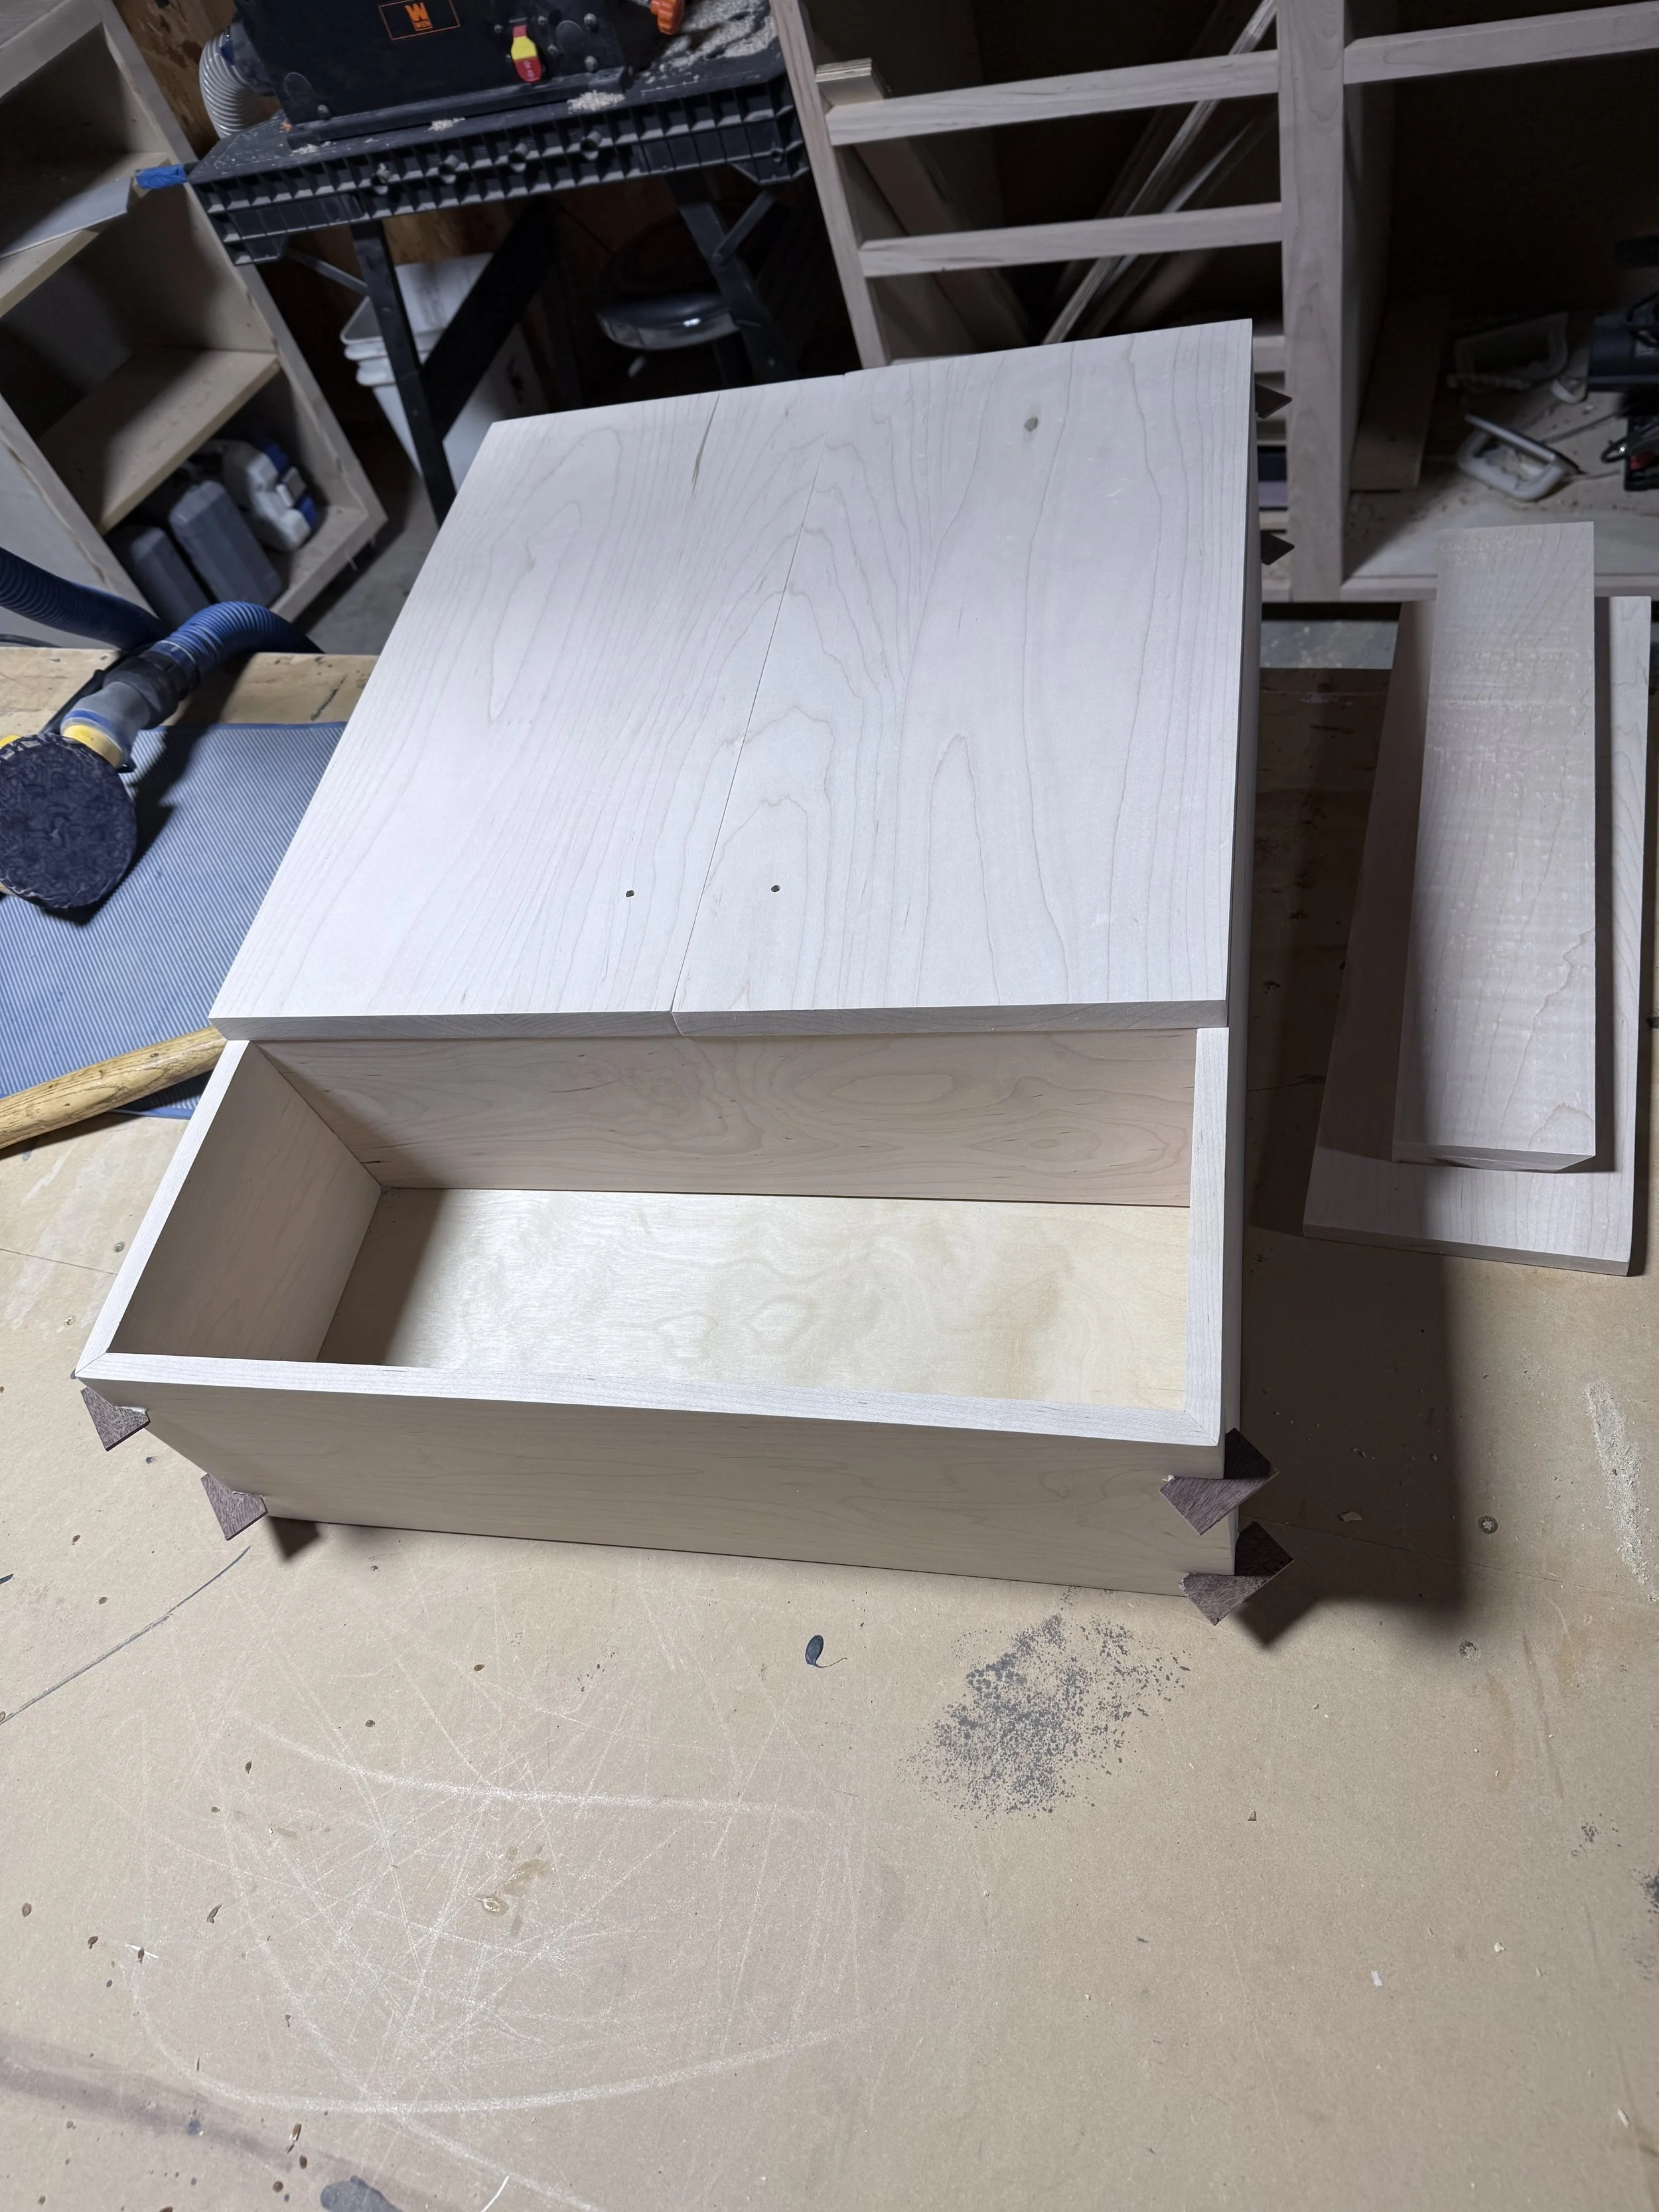
Ready for Glue
Got everything cut, drilled, dadoed, and ready for glue. You can’t see if this shot but the outside has a continuous grain wrap around the outside.
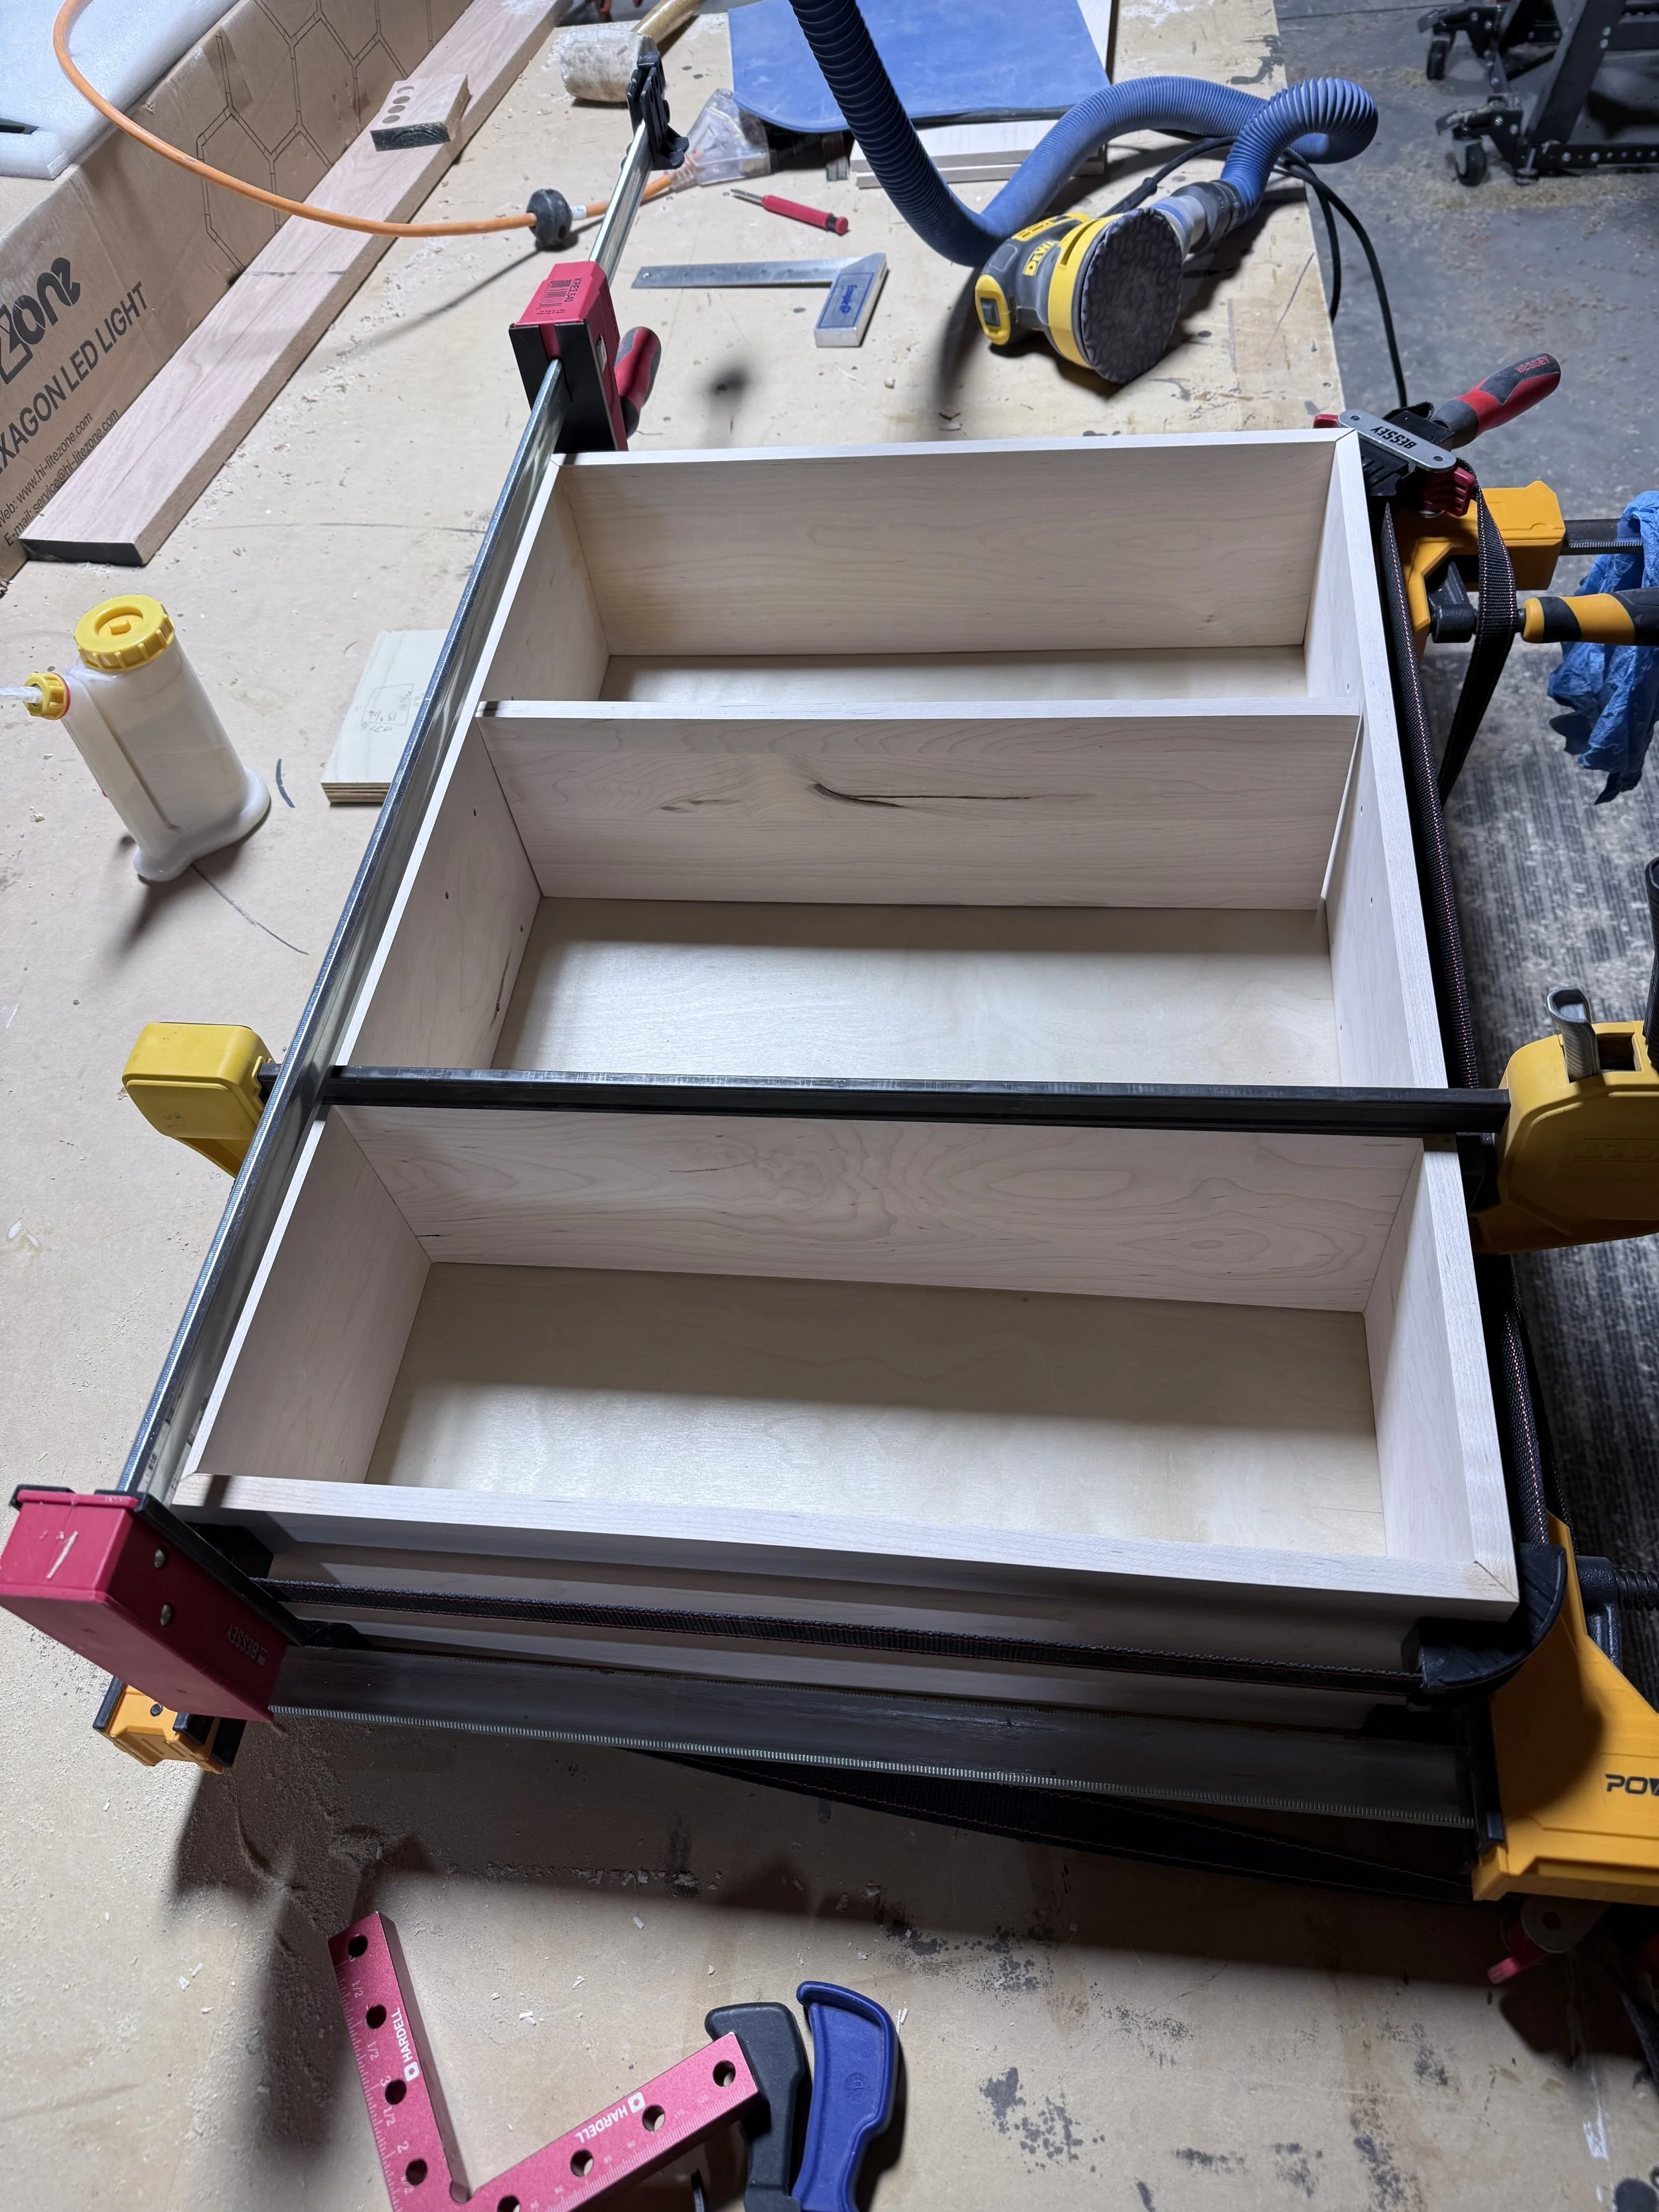
Glued and drying
Everything is glued up and fitting perfectly. Now just let it dry then on to splines and final sanding.
Time for doors
Getting doors lined up and ensure more continuous grain with a perfect fit.
Also this is the only decent shot of the walnut splines.
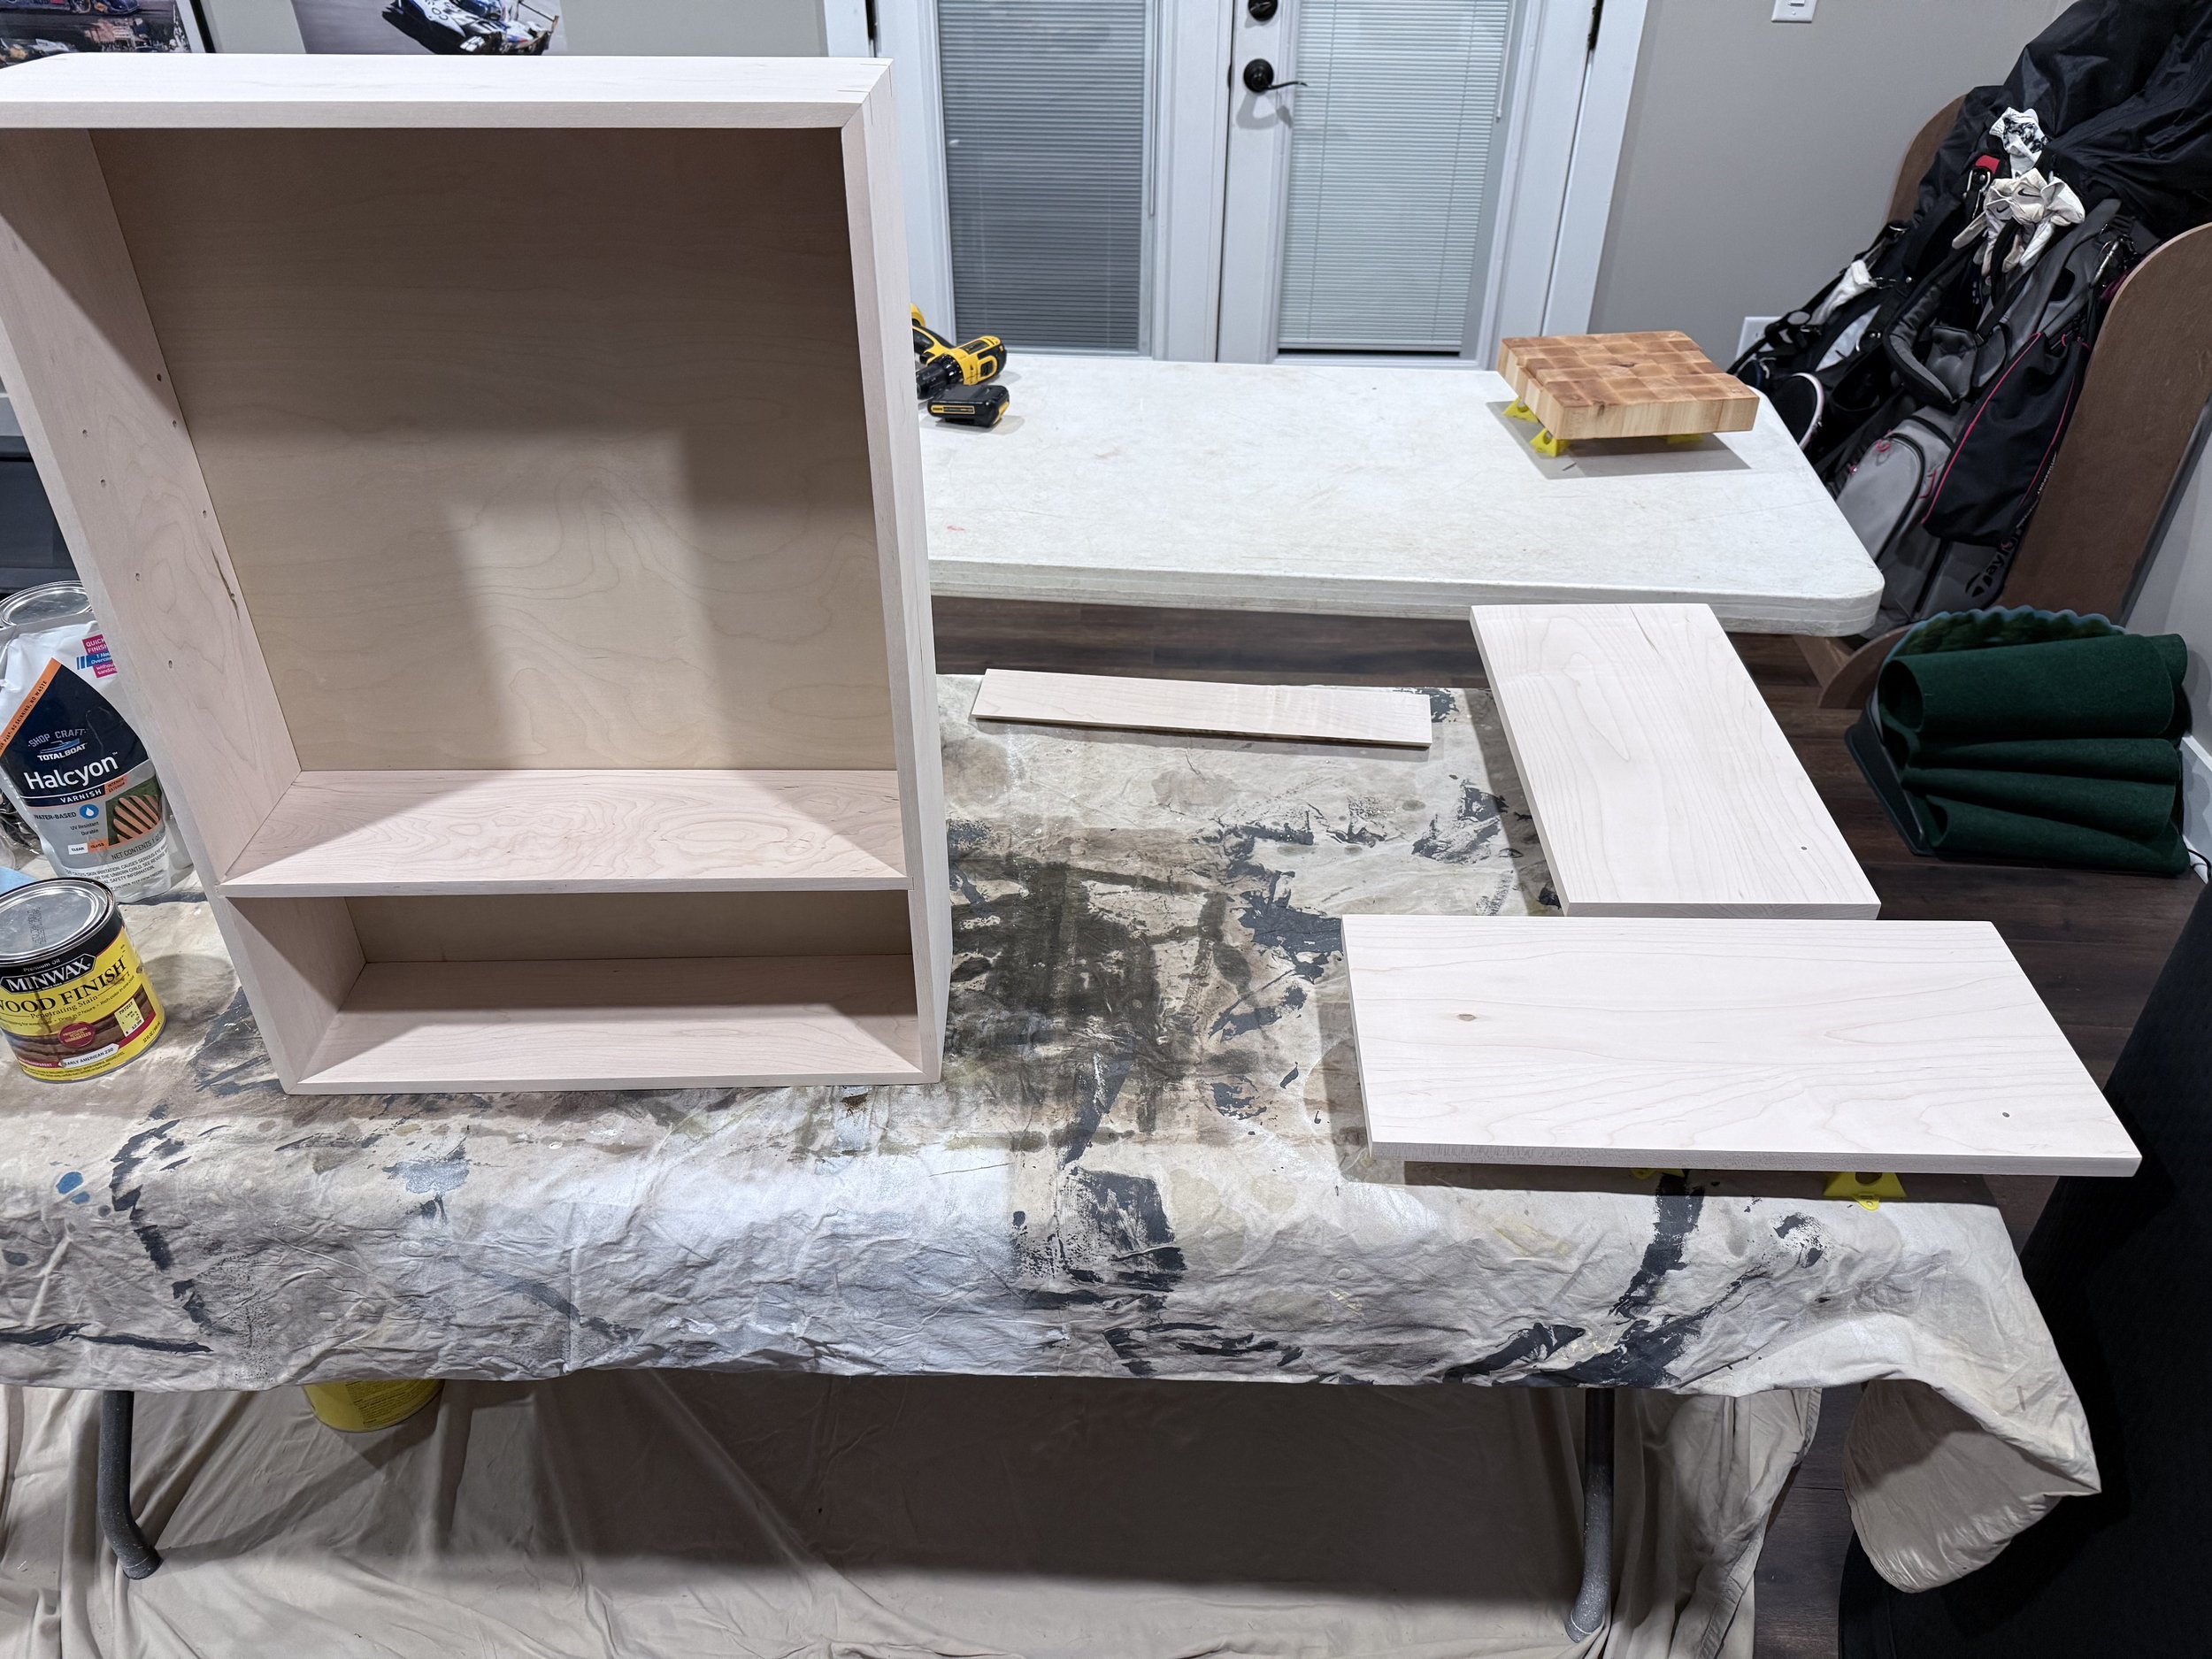
Ready for stain
Got all the pieces in my basement (since its too cold in my shop to finish) and ready for stain.
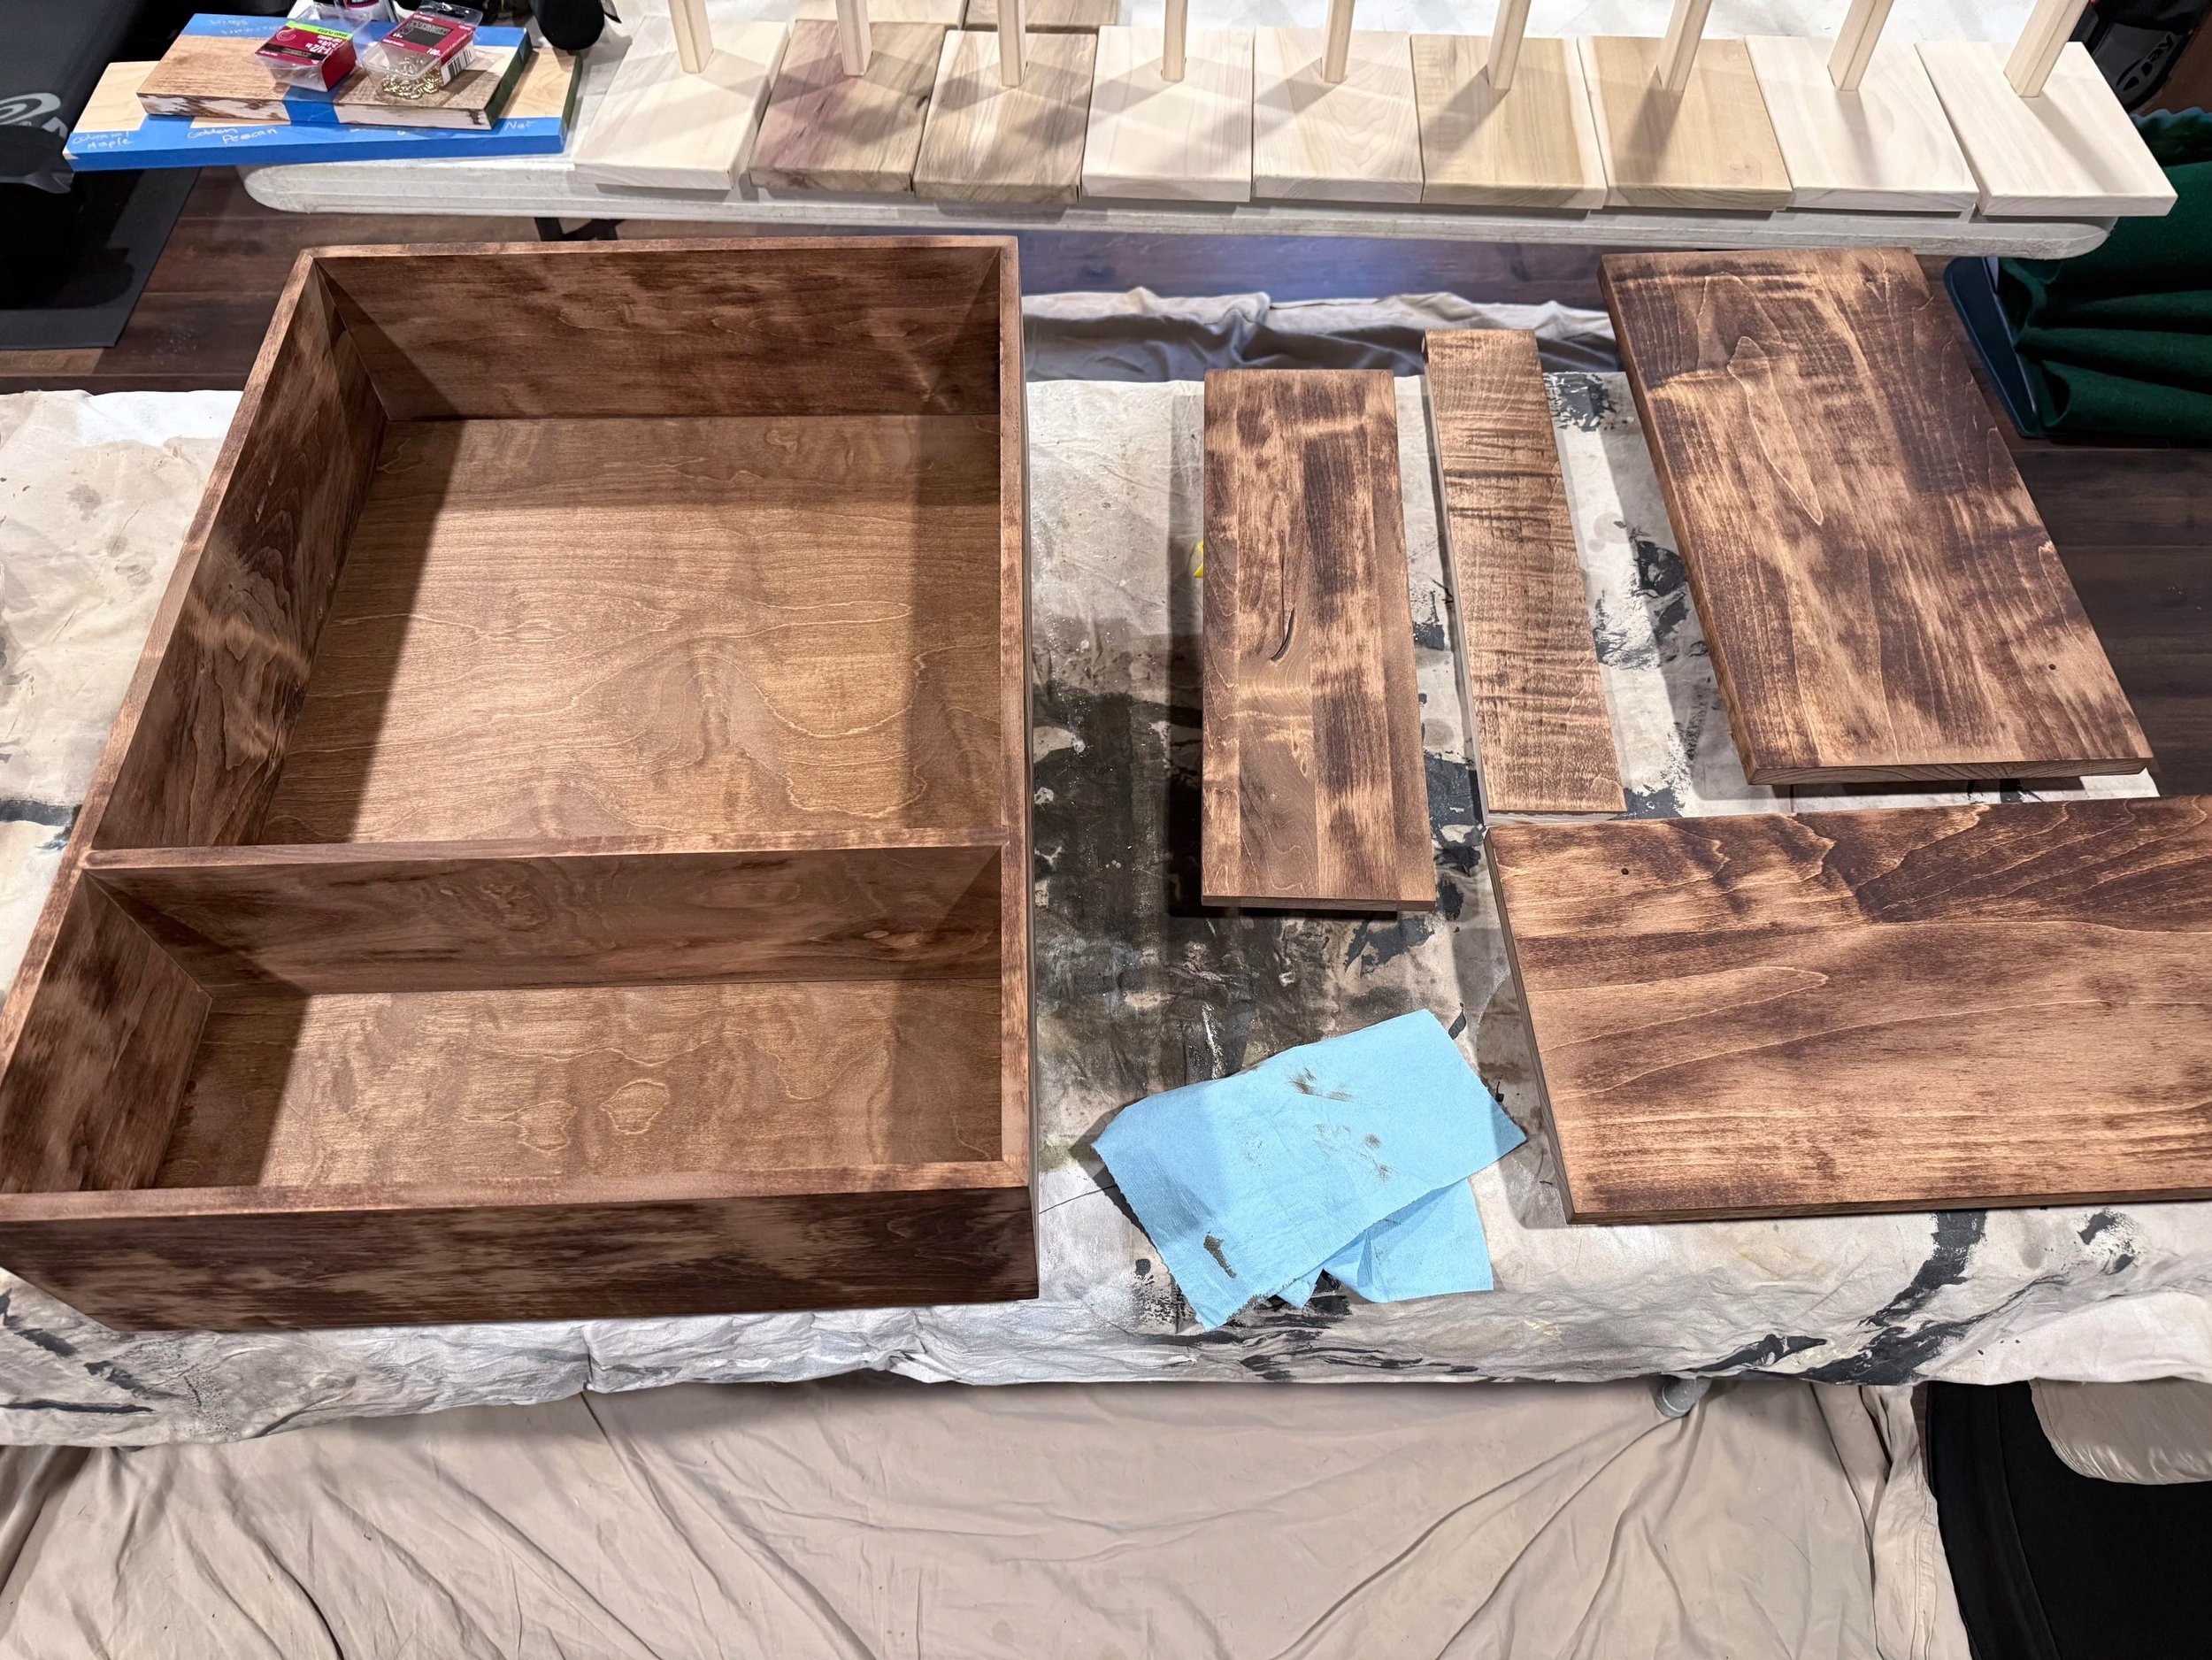
And this is where it all goes wrong…
The piece is stained at this point, but you can (especially on the right hand side) how blotchy things got. I had never experienced anything like this in staining before. Valuable lesson in Maple and Pre-Stain.
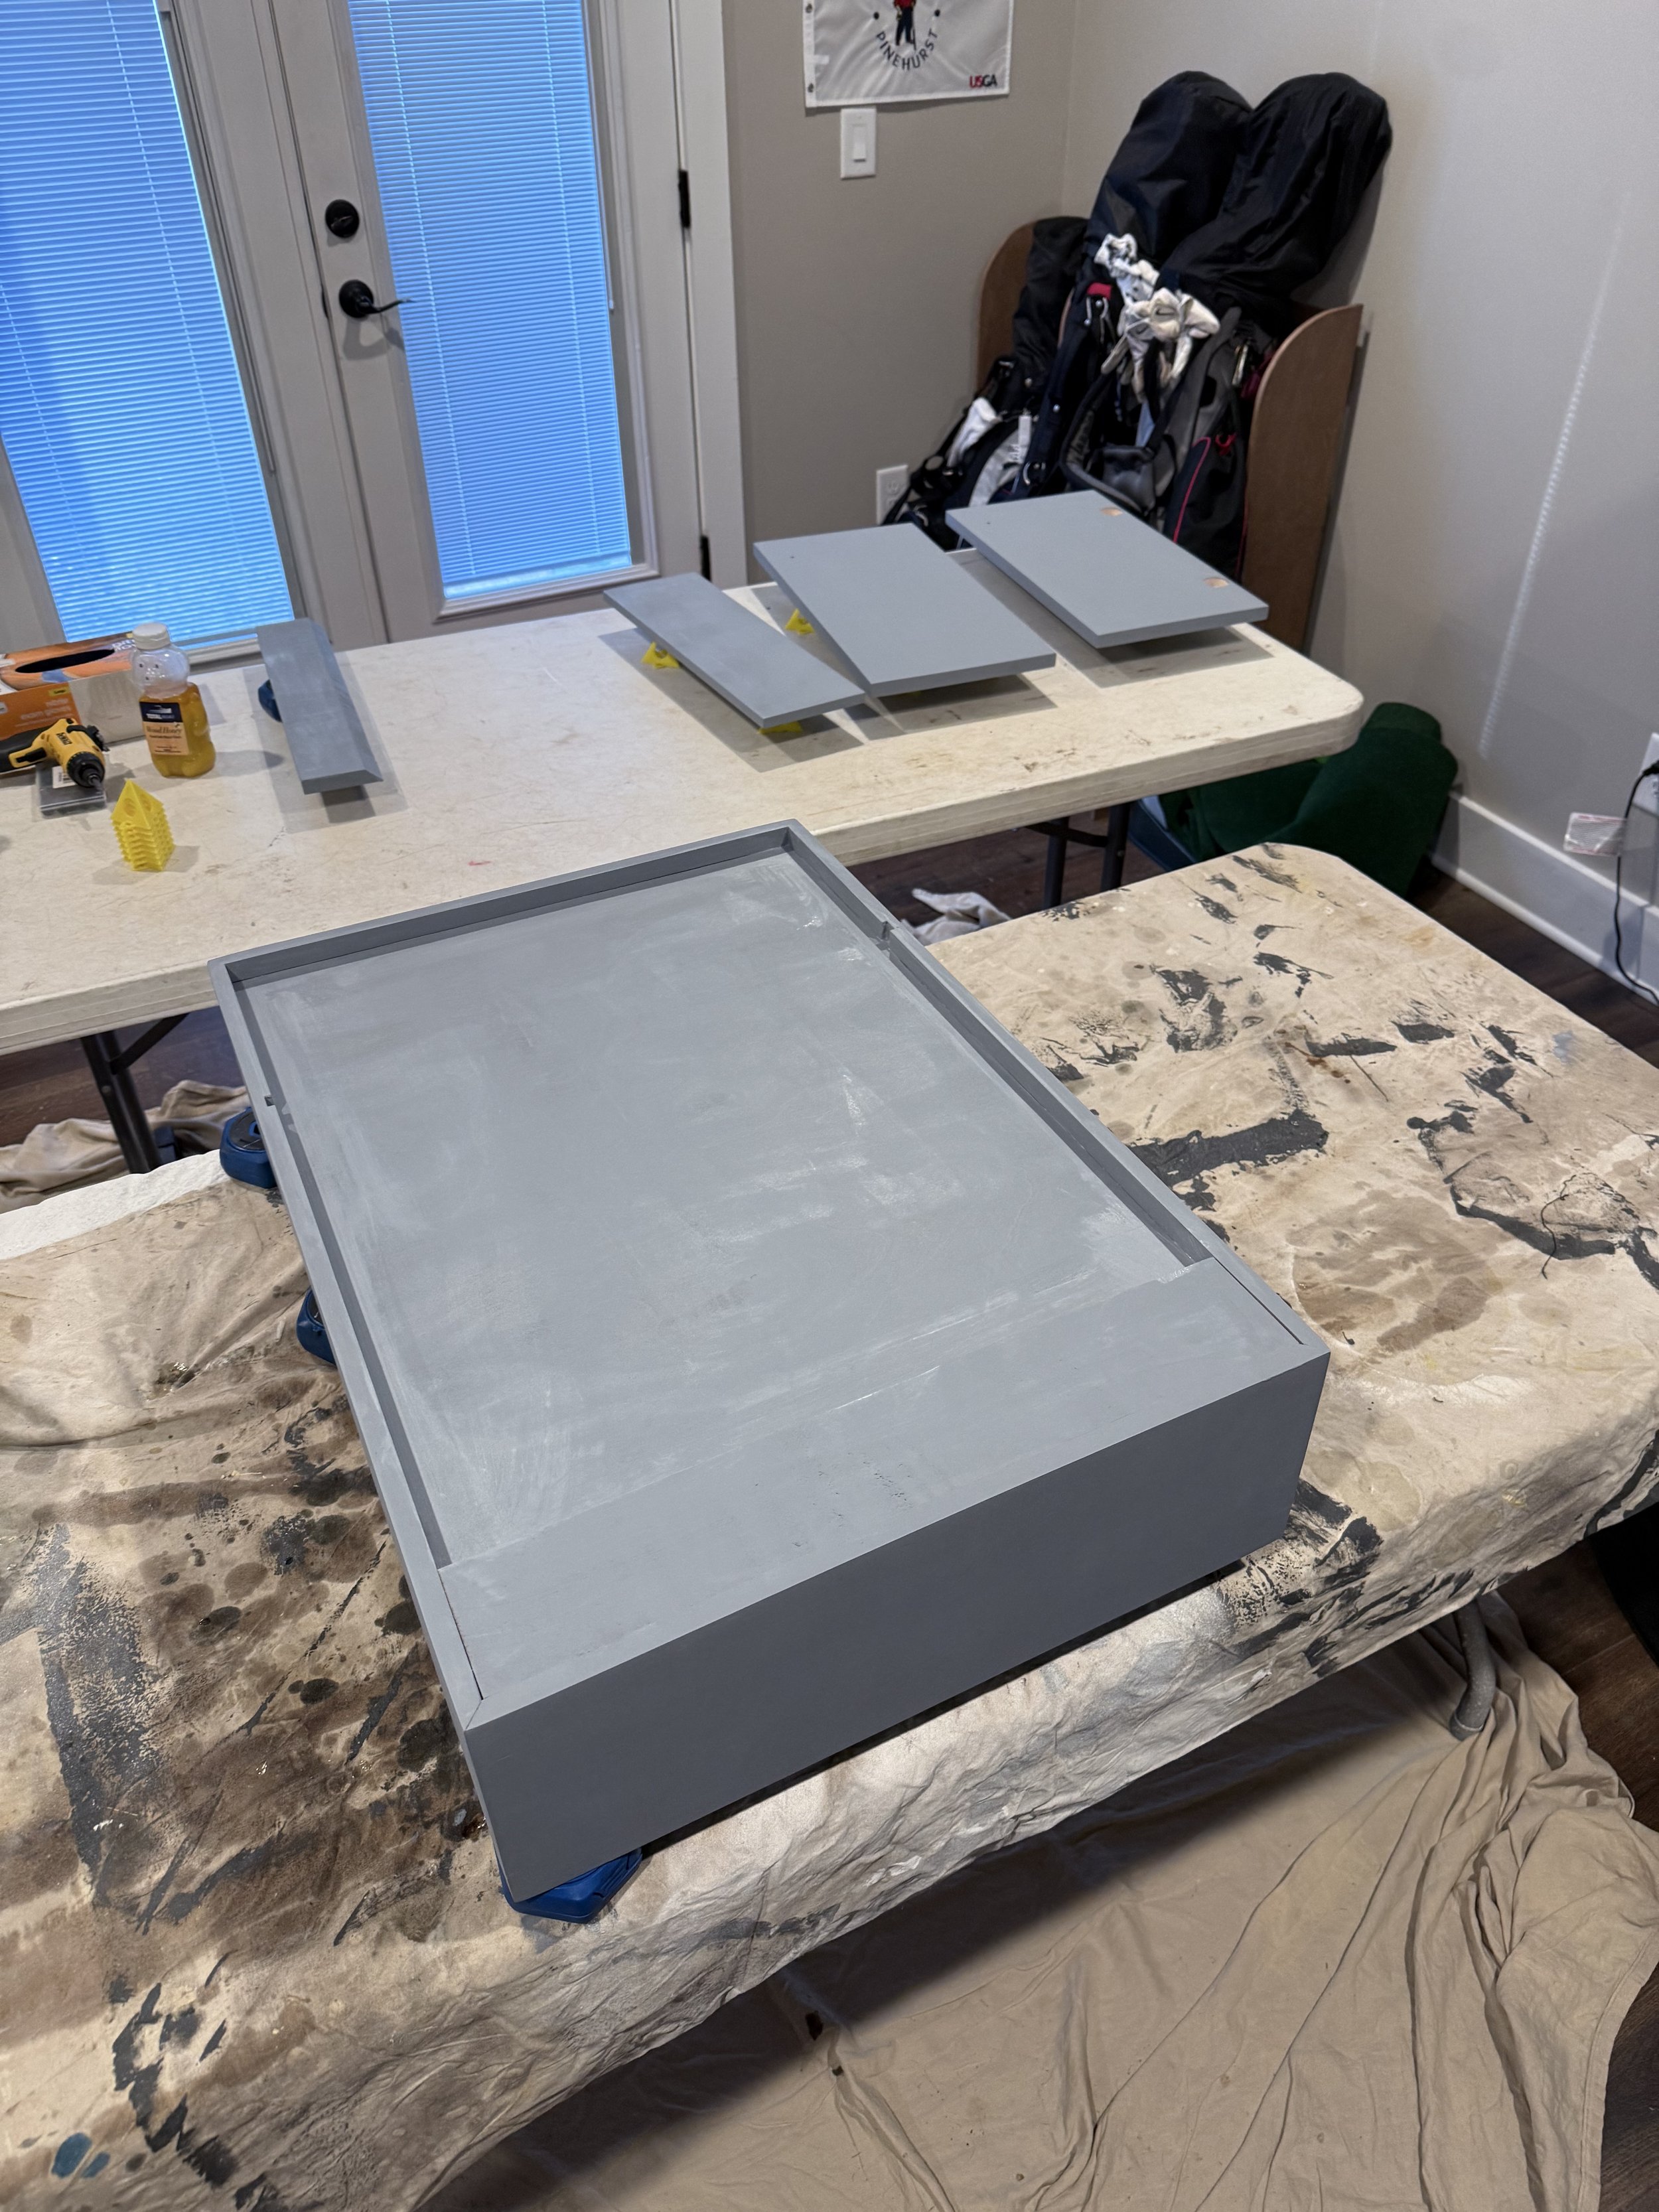
Time to pivot
After talking to the client, we chose to switch and paint the cabinet rather than rebuild it. This is letting the primer dry before adding a coat of SW Kaffee.
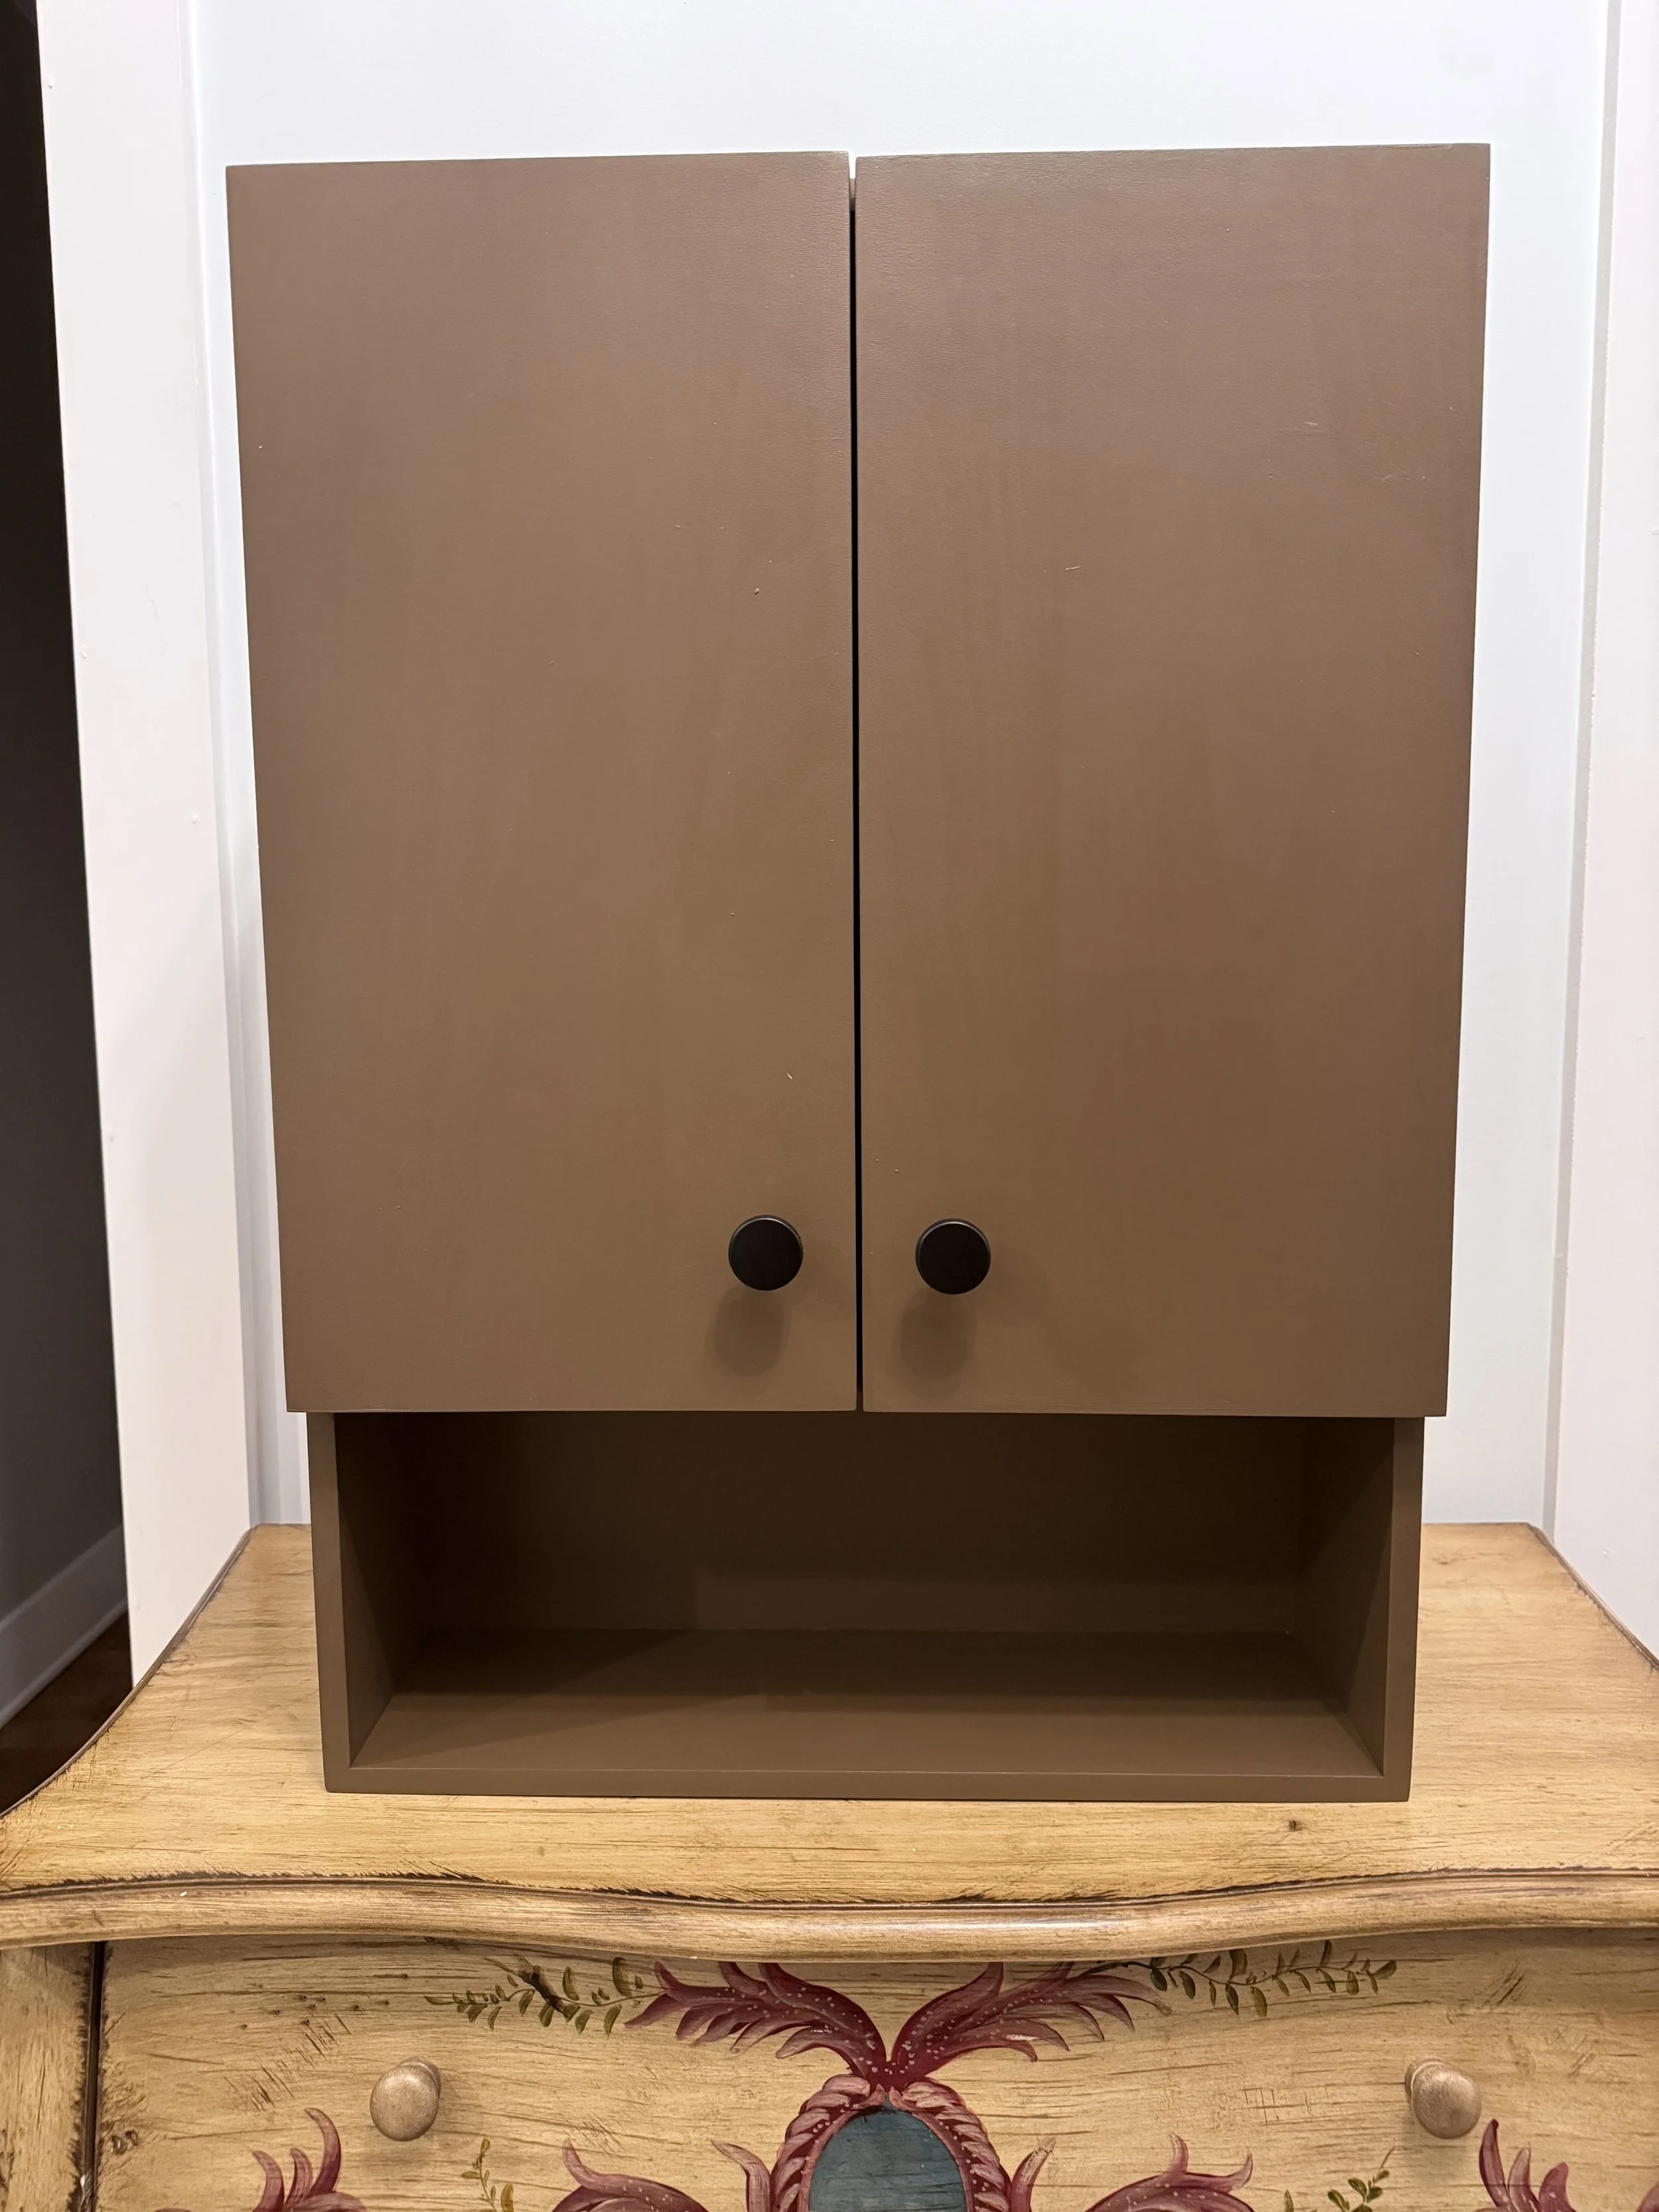
All painted and ready to go…
This shows the completed product, painted and ready to send to the client. Obviously not the look of stain, but close to the same shade of brown the client wanted.